A form is the key point for conversion! The main objective of it, is for visitors to leave us their details.
Make sure that the form is always easy to understand and it gives clear and brief instructions.
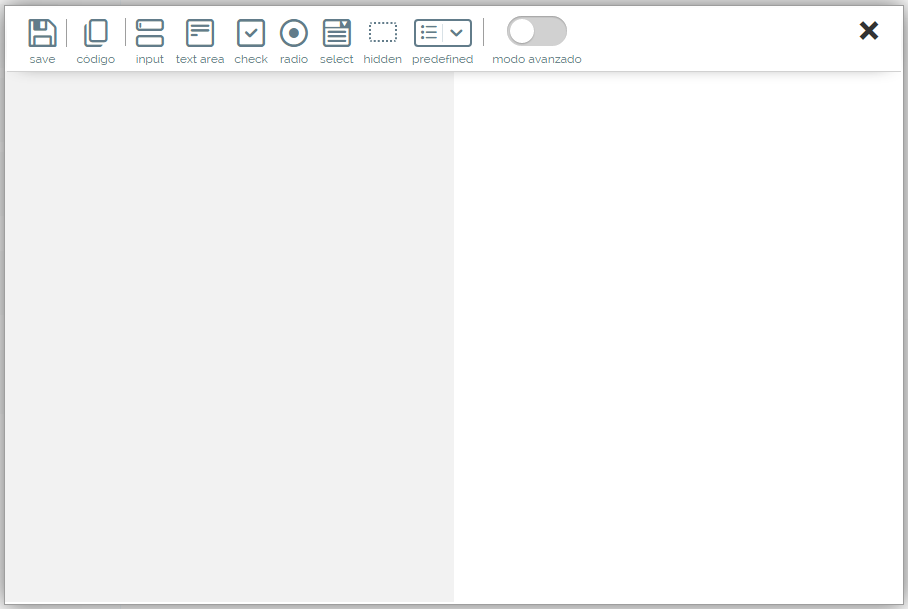
Inserting a form on your landing
- Drag the form icon into the workspace.
- A window will open showing all of the available options.
You can add different fields to the form in a number of ways: input, textarea, check, radio buttons, select, and hidden elements.
Below we explain about each element the form and how to use them.
Each field of the form has 3 parameters:
- Hide label: It will not show the label of the field next to it.
- Required field: If activated, the field must be completed before submitting the form.
- Error Message: A warning will appear in the event that the mandatory field has not been completed.
Adding text fields to the form (input)
- Click on the text field icon (input)

It will bring up the options for the text field element (or input).
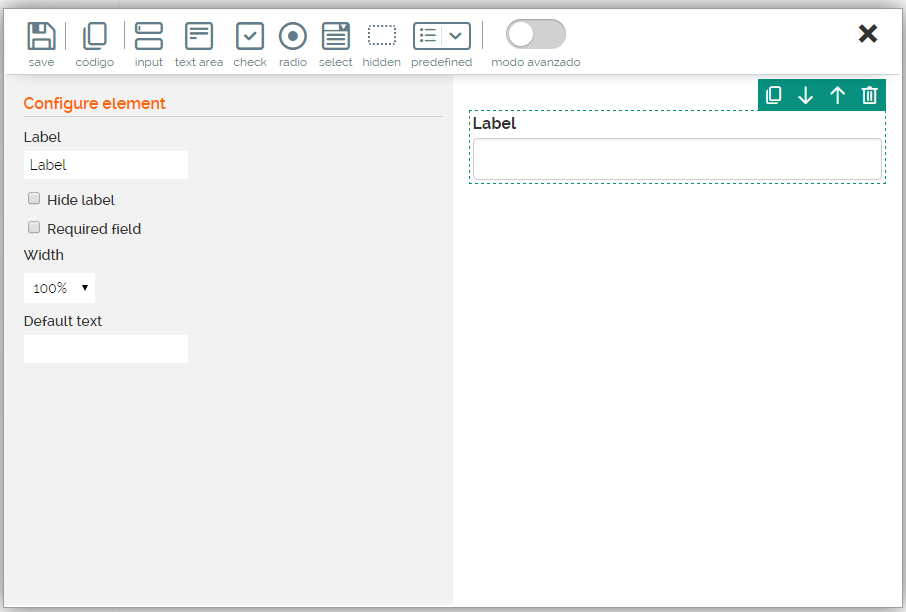
To the left you will find the options for "Element configuration ".
The text fields of a form have their own properties:
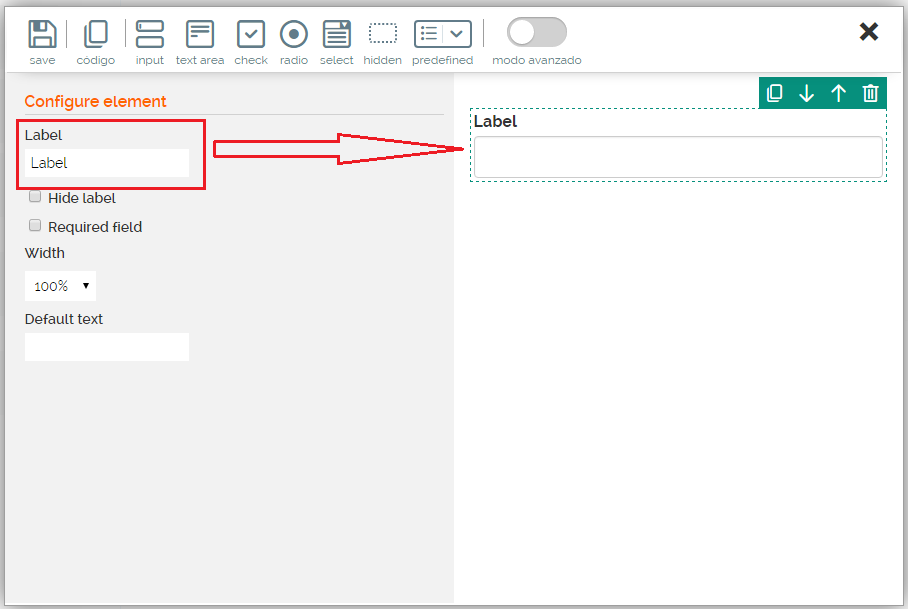
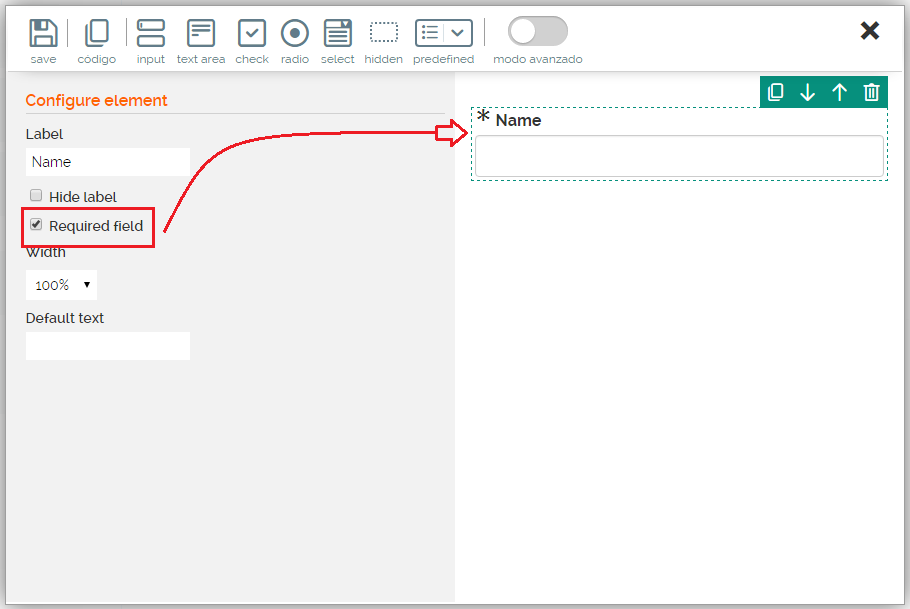
- Label: It is the title or caption of each of the fields.
- Required or mandatory: The user cannot send the form if a mandatory field is empty.
In the section label you can add a name whichever field you want, for example: Name
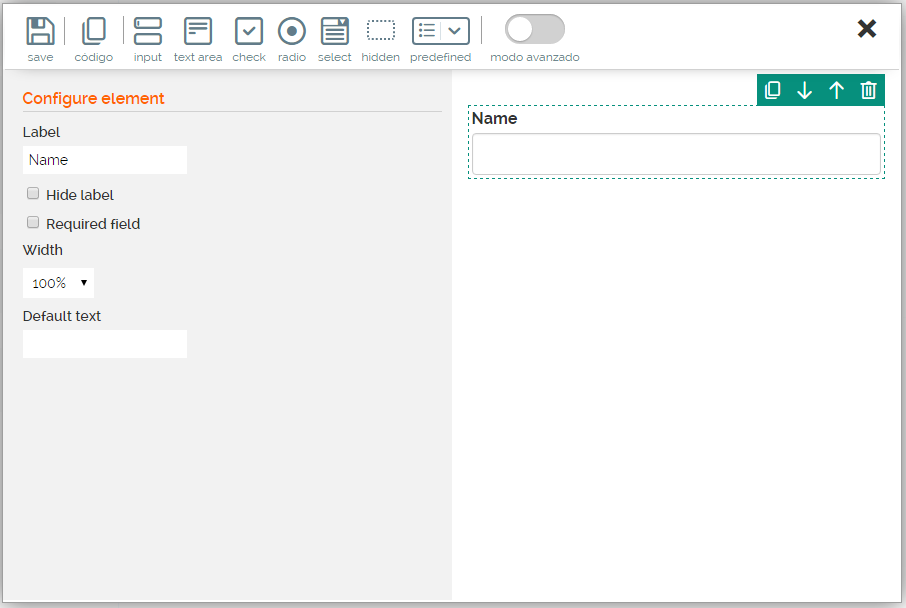
If you want the field to be mandatory, just click on and tick the "Required field" box. As soon as you do this, it will automatically show an asterisk next to the label. See below.
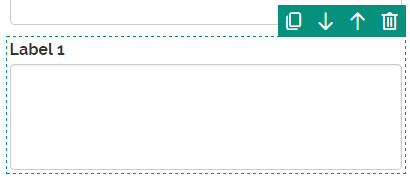
With the arrows selector  you can move fields either up or down and place them in whichever order you want on the form.
If you need to delete the field, click on the delete icon 
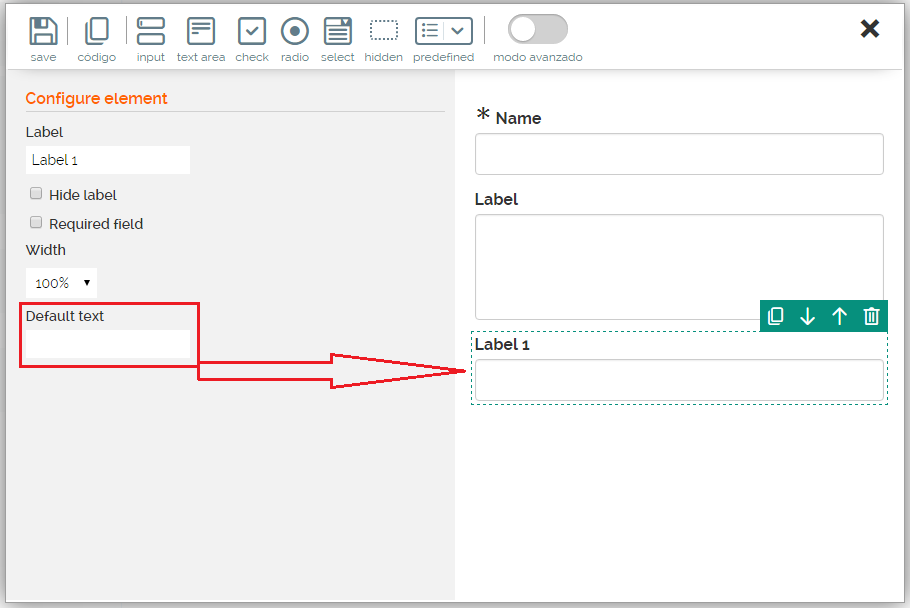
If you want a word or words to appear in the text field, just add the text you want in the "Default Text" option. It can be used like a label but inside its own textbox.
If in the landing query-string you want to indicate a parameter with a value that should take an input field, then indicate the name of this parameter in "Variable".
Adding text fields to the form (textarea)
A <textarea> is a simple textbox in “text” format, where there is enough space for users to write a long piece of text. It is useful for users who want to contact us with any doubts or suggestions, etc.

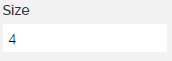
Choose the height of your textarea, by entering the value you want:
Option lists (check and radio)
The option lists are very helpful when we want to give the user a choice between different options.
The options we have are:
- Checkbox
- Radio button
The checkboxes allow you to choose one or more options from a list while the radio buttons allow you to choose one option from among several.
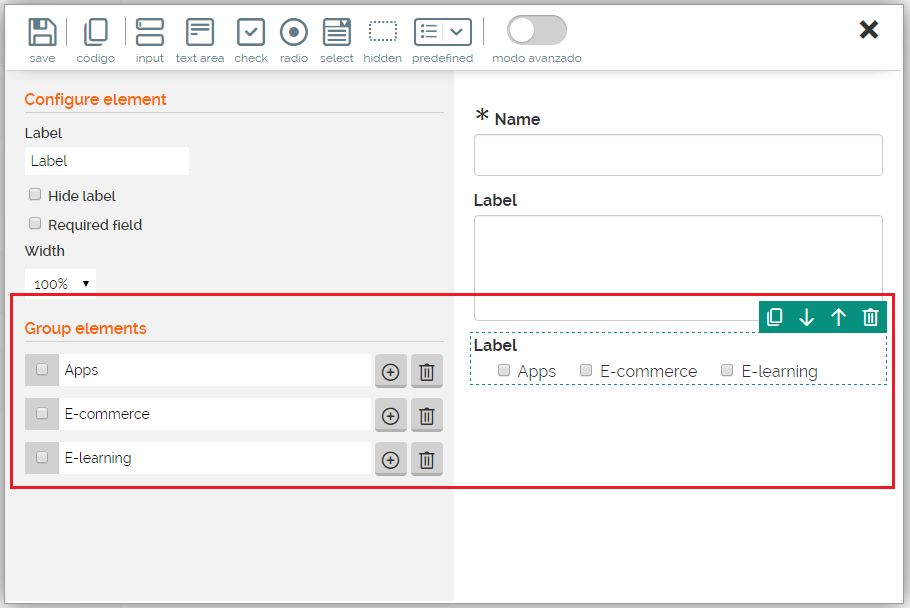
Checkbox

The checkbox list allows the user to select either one or several options.
The checkbox or “checkboxes” are form controls that allow the user to select and deselect individual options. Although on occasion you may find several checkboxes together, each of them is totally independent from the other. Thus, they are used when the user wants to activate and deactivate several options that are related but not mutually exclusive
.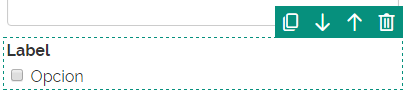
To add the options you want, write the name in the option Group elements.
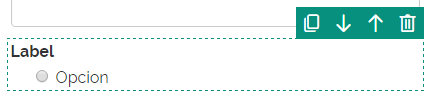
Radio

The radio button controls are similar to the checkbox controls but they only allow the user to select one option from among the various related options.
Each time an option is selected, the option that had previously been selected is automatically deselected.

Adding text fields to the form (Select)
The selection fields are used to insert menus and drop-down lists.

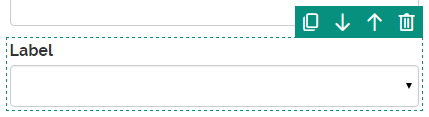
"First value not valid” this means that this value is only informative for the user. In this case we want to show a text that give an explanation, such as "Select an option" this indicates that the element will appear selected. This attribute takes no value.
Add every option you need to the elements of the group. You can add as many as you want using the button 
Assign a value to each element with the button 
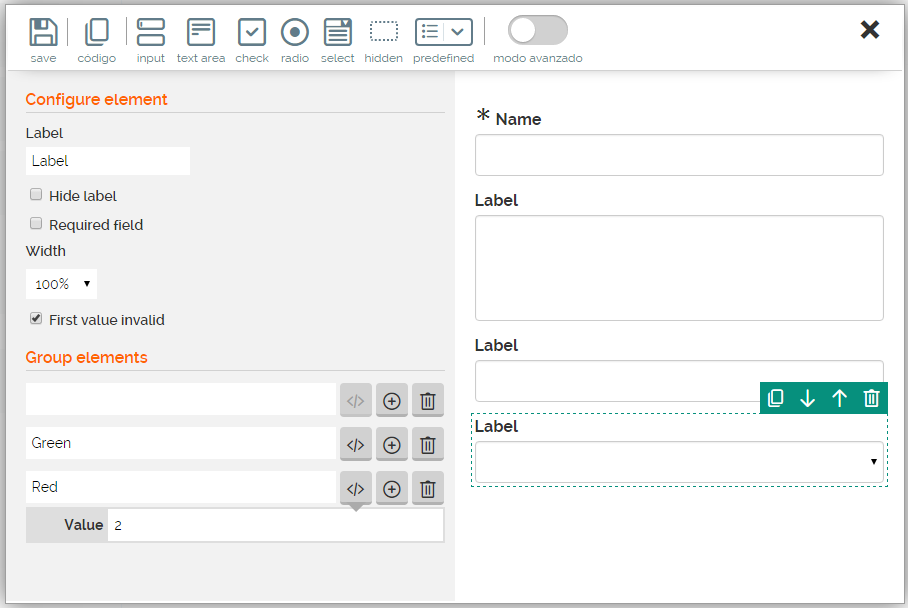
The name of the element is what appears in the selection list and the value is the data that will go into the database or list where it is synchronized
If the list is too long, you have the possibility of loading a list from an Excel and displaying it in a drop-down menu (for example: if you have a list of states)
Adding text fields to the form (hidden)

The hidden fields are used to add hidden information to the form. This type of control does not display anything on the form, the user will not see it, but we still get this data.
ItIt becomes useful when a dynamic page is generated from the server, for example through PHP and a value is stored in a hidden field they will be recovered when the form is uploaded to the server.
This field has the following properties:
- Value: This will be the default value
- Variable: If, in the landing query-string, you want to indicate a parameter with a value that should take a hidden field, then indicate the name of this parameter in "Variable.
Adding predefined fields
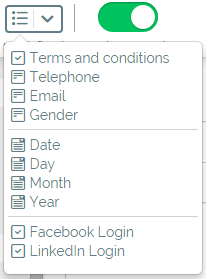
The predefined fields are used to establish default values beforehand. They can be fields that have already been filled out, for example "Terms and conditions", or fields in which you offer a series of already predefined variables such as, the days, months, and years, which prevent errors in format.
To redirect to the Terms and conditions page, you simply have to write the text you want to show, with the text to be linked in brackets, and the URL link in parenthesis. For example: I accept the [terms and conditions] (http://www.mdirector.com/terms-and-conditions/)
You also have the option of uploading your Terms and conditions in a HTML document.

In addition, you can add a telephone number, an email address or a date from the pre-filled data. Through the option "Facebook Login", the user has the option to register with his Facebook information.
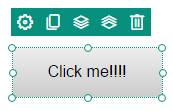
Send button
Most of the forms have a button which sends the data which has been entered by the user to the server.
On every form you should always add a button that you can edit the way you want.
Edit button
Access form set up 
In the "Button” section you will find all the elements that you can customize. The "Alignment" indicates where you want to position the button within the form. If you choose "Free" the button can be placed anywhere on the Landing page.
Comments